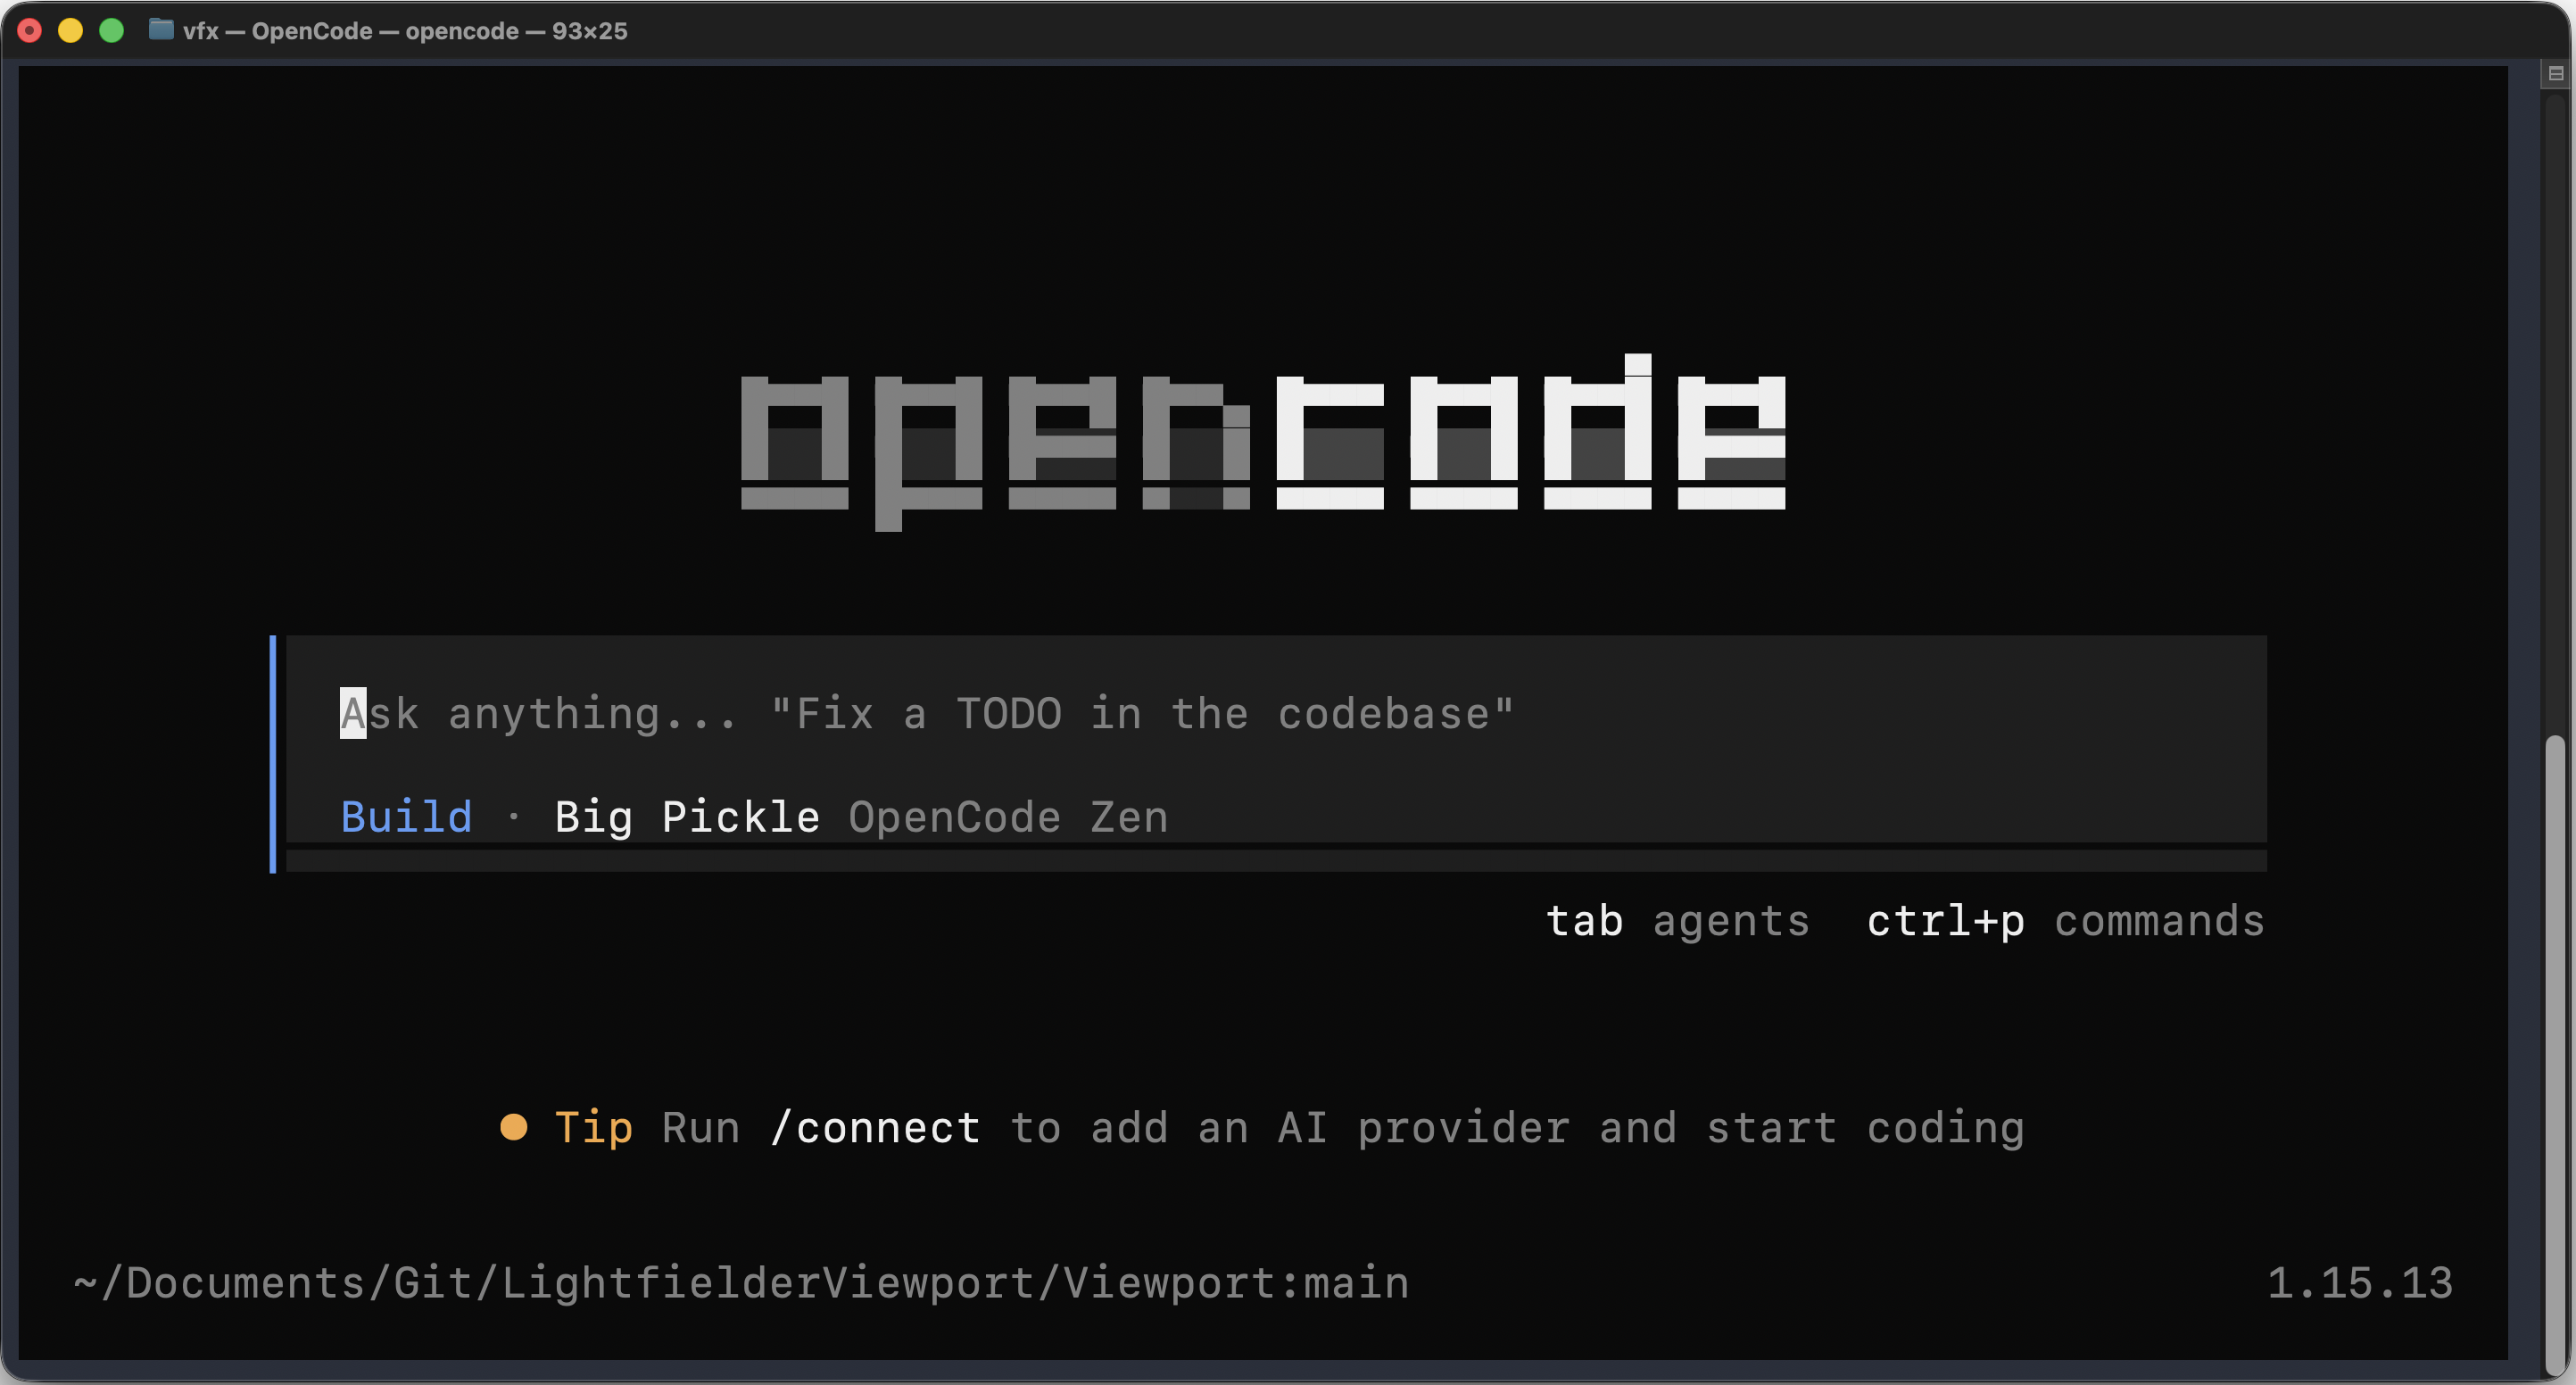
Installing the Dev Tools
Swift 6 development works best on macOS 26.0+ (Tahoe) when you have the following tools installed:
1. Install Xcode
Download and install Xcode 17+ from the Mac App Store or the Apple Developer site.
After installation, accept the license and install the command-line tools:
sudo xcodebuild -license accept
xcode-select --install
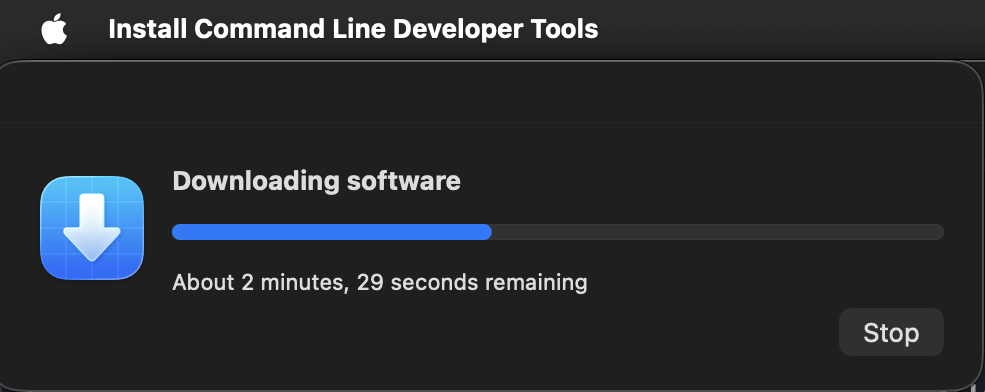
Verify the Xcode command-line tools are active:
xcodebuild -version
The terminal output will be something like:
Xcode 26.5
Build version 17F42
2. Install Homebrew
Homebrew is used to install XcodeGen:
/bin/bash -c "$(curl -fsSL https://raw.githubusercontent.com/Homebrew/install/HEAD/install.sh)"
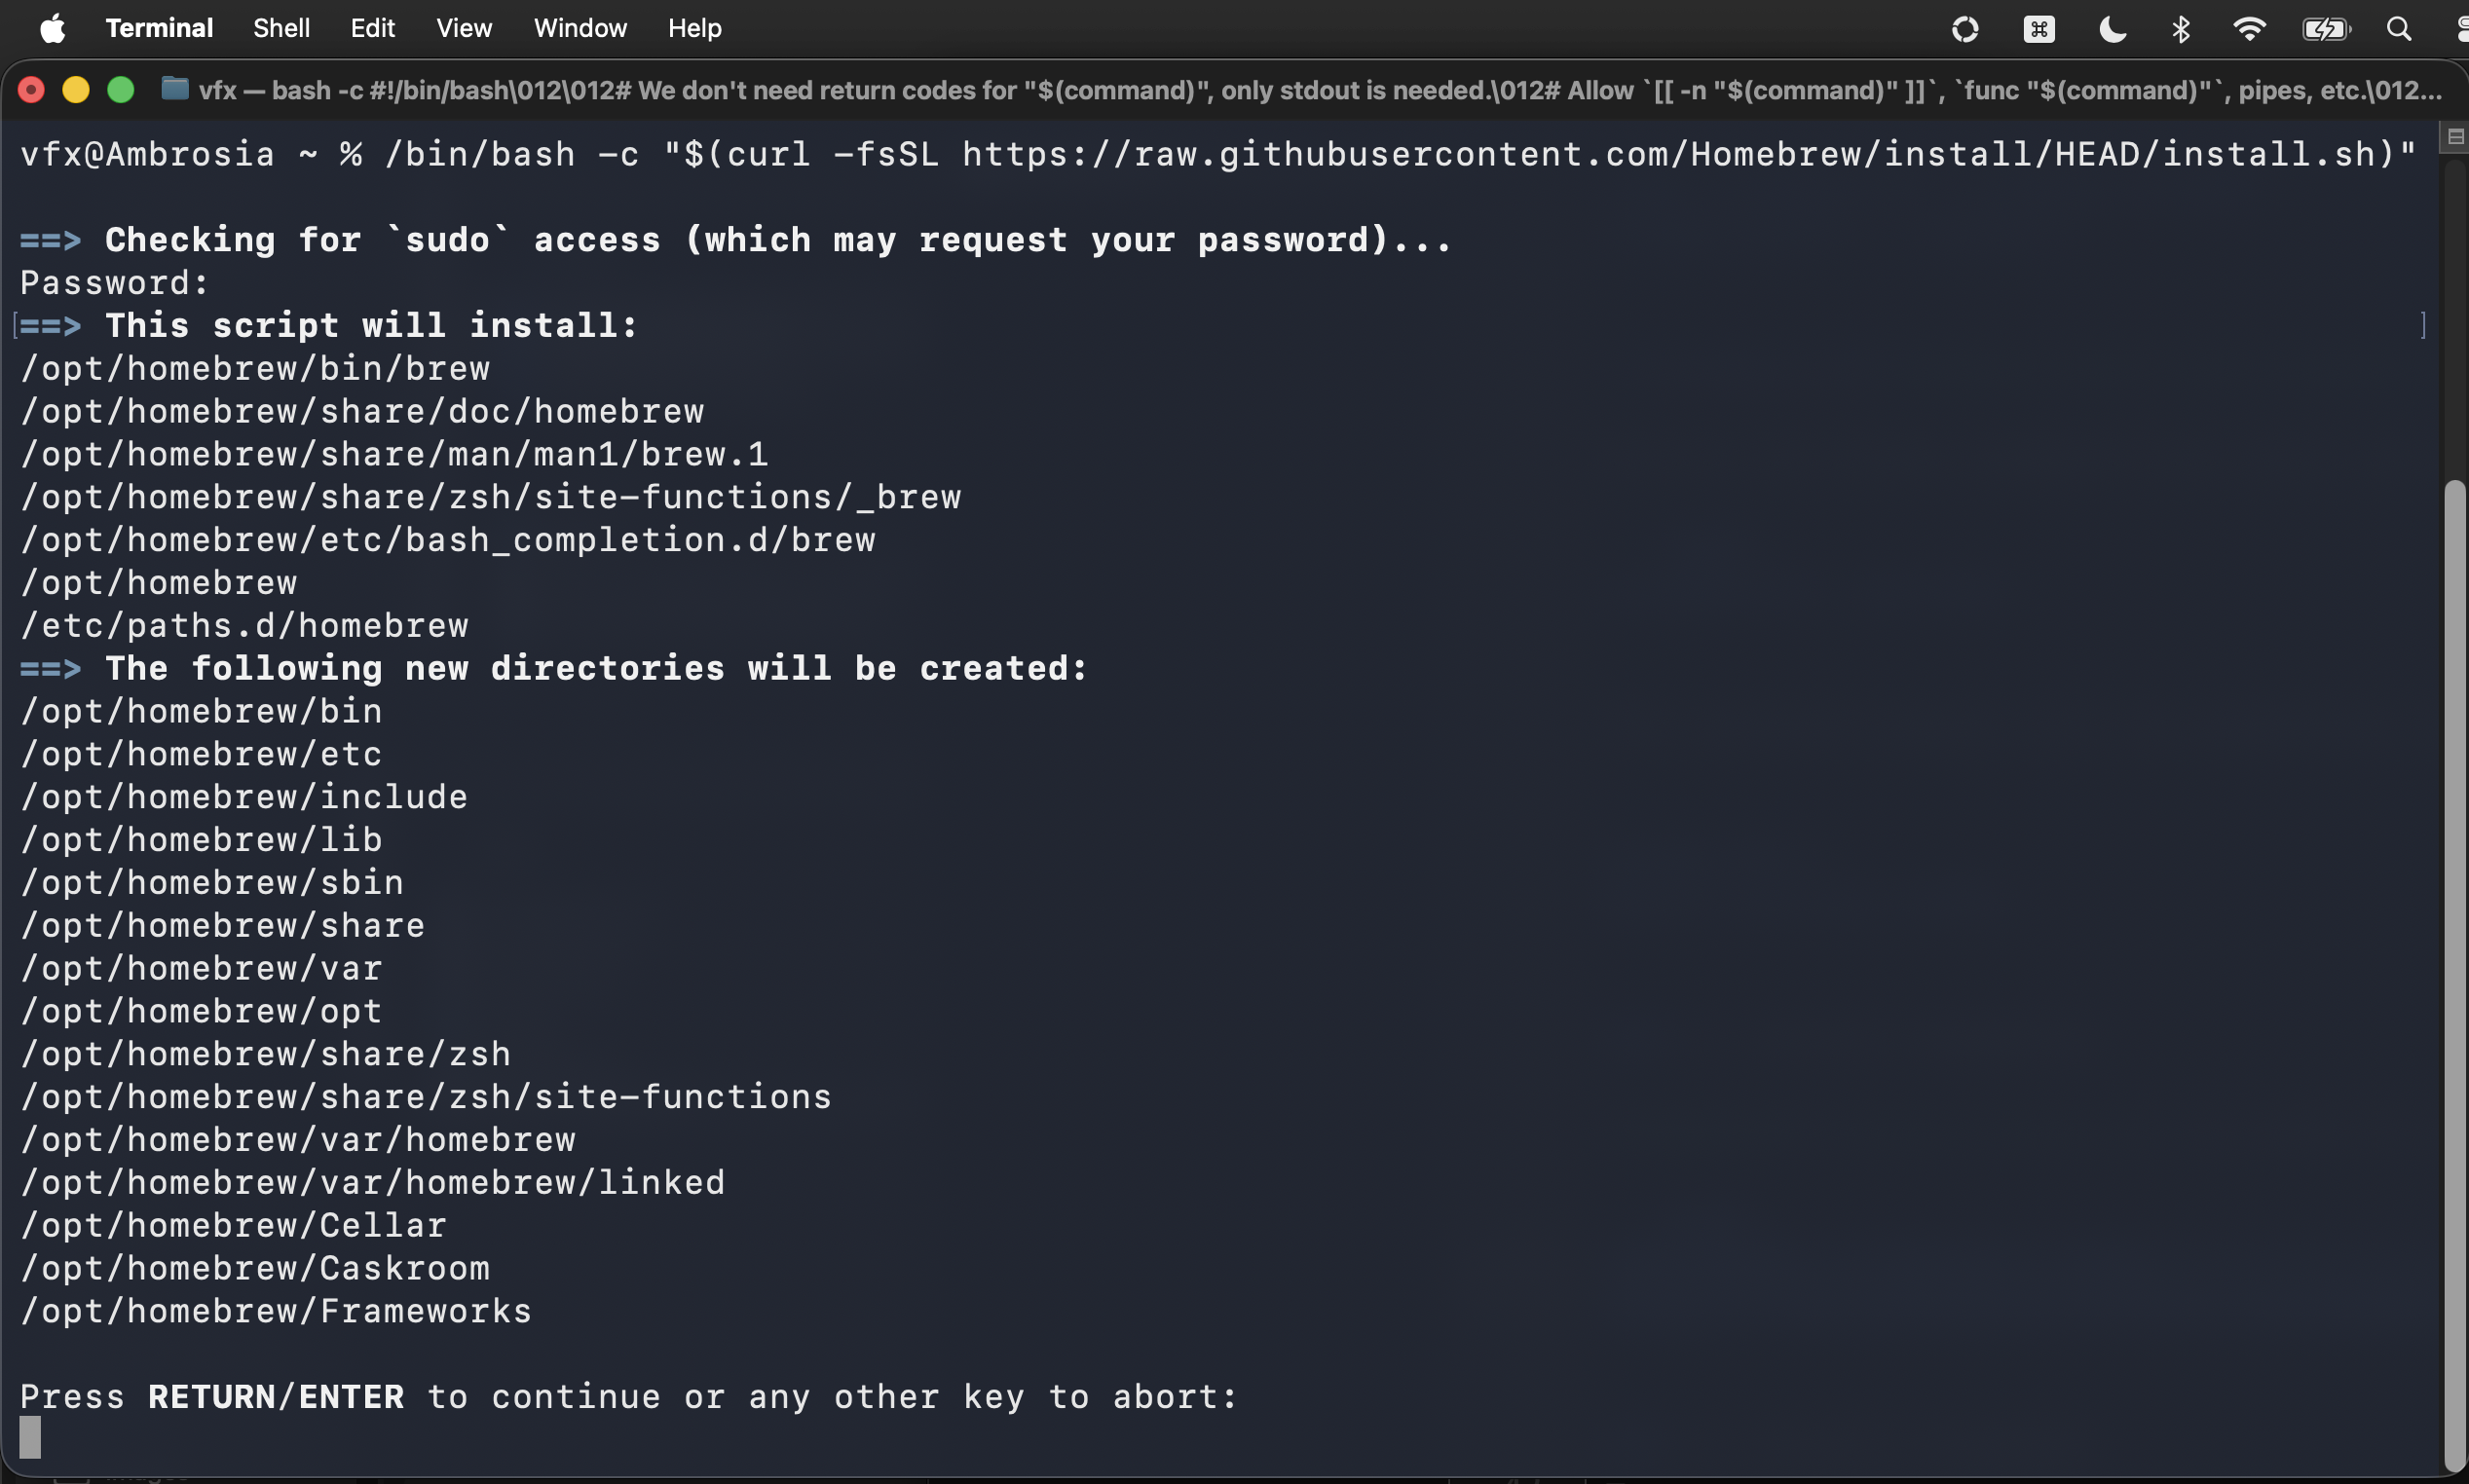
After Homebrew finishes installing you can choose to add it to the sytem PATH environment variable:
echo >> /Users/vfx/.zprofile
echo 'eval "$(/opt/homebrew/bin/brew shellenv zsh)"' >> /Users/vfx/.zprofile
eval "$(/opt/homebrew/bin/brew shellenv zsh)"
3. Install xcodegen
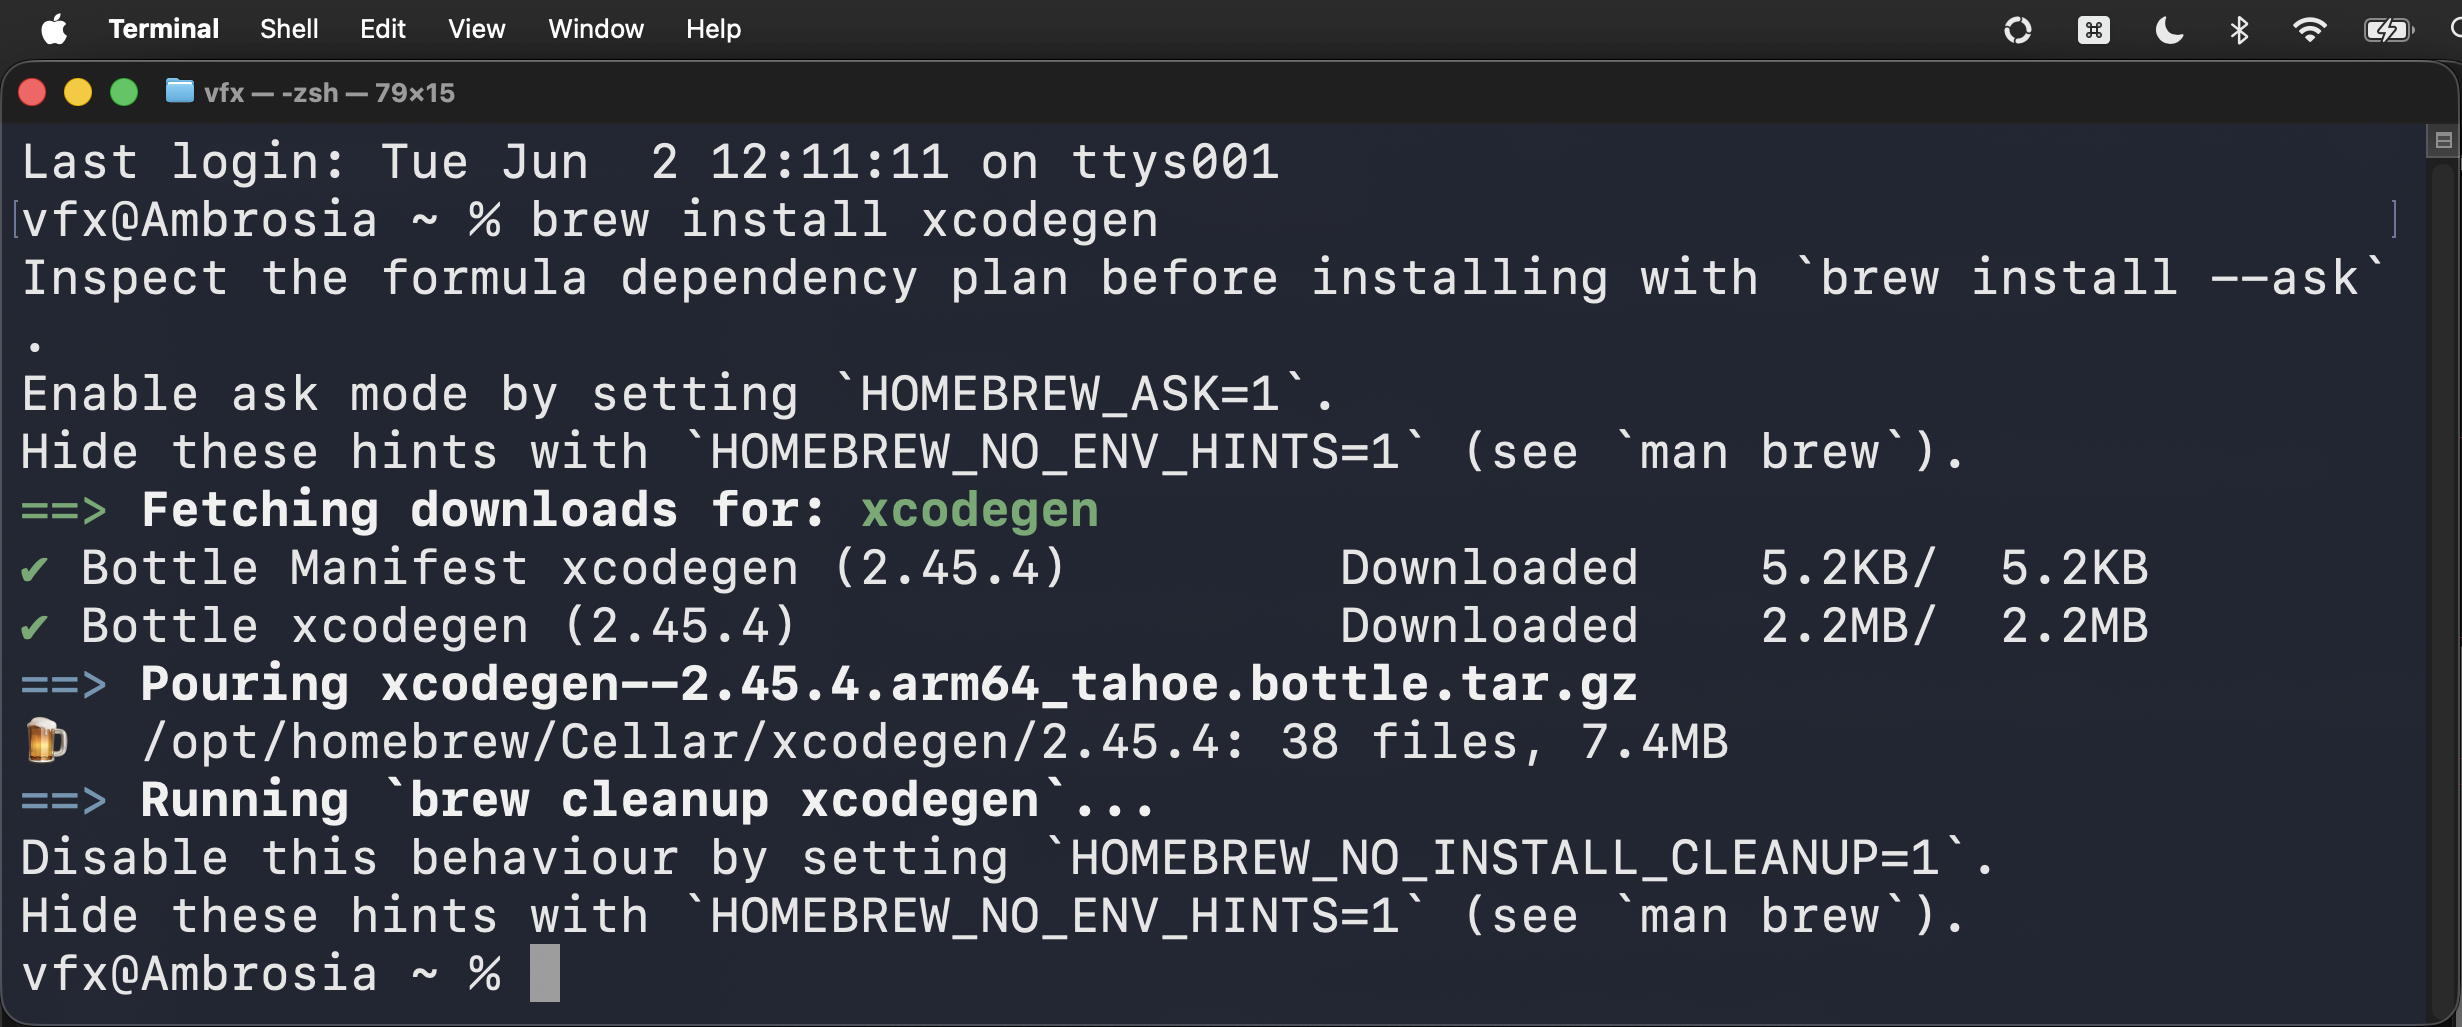
xcodeGen makes it easy to generate a new .xcodeproj file from a project.yml configuration file. You can install xcodegen from homebrew using:
brew install xcodegen
4. Apple SF Symbols
Sift UI based apps typcially use Apple's SF Symbols for menu and user interface icons.
5. Install OpenCode (Optional)
OpenCode is a CLI tool for interacting with AI-powered coding agents from the terminal. It can be used to edit code, run builds, and manage git operations during development.
brew install anomalyco/tap/opencode
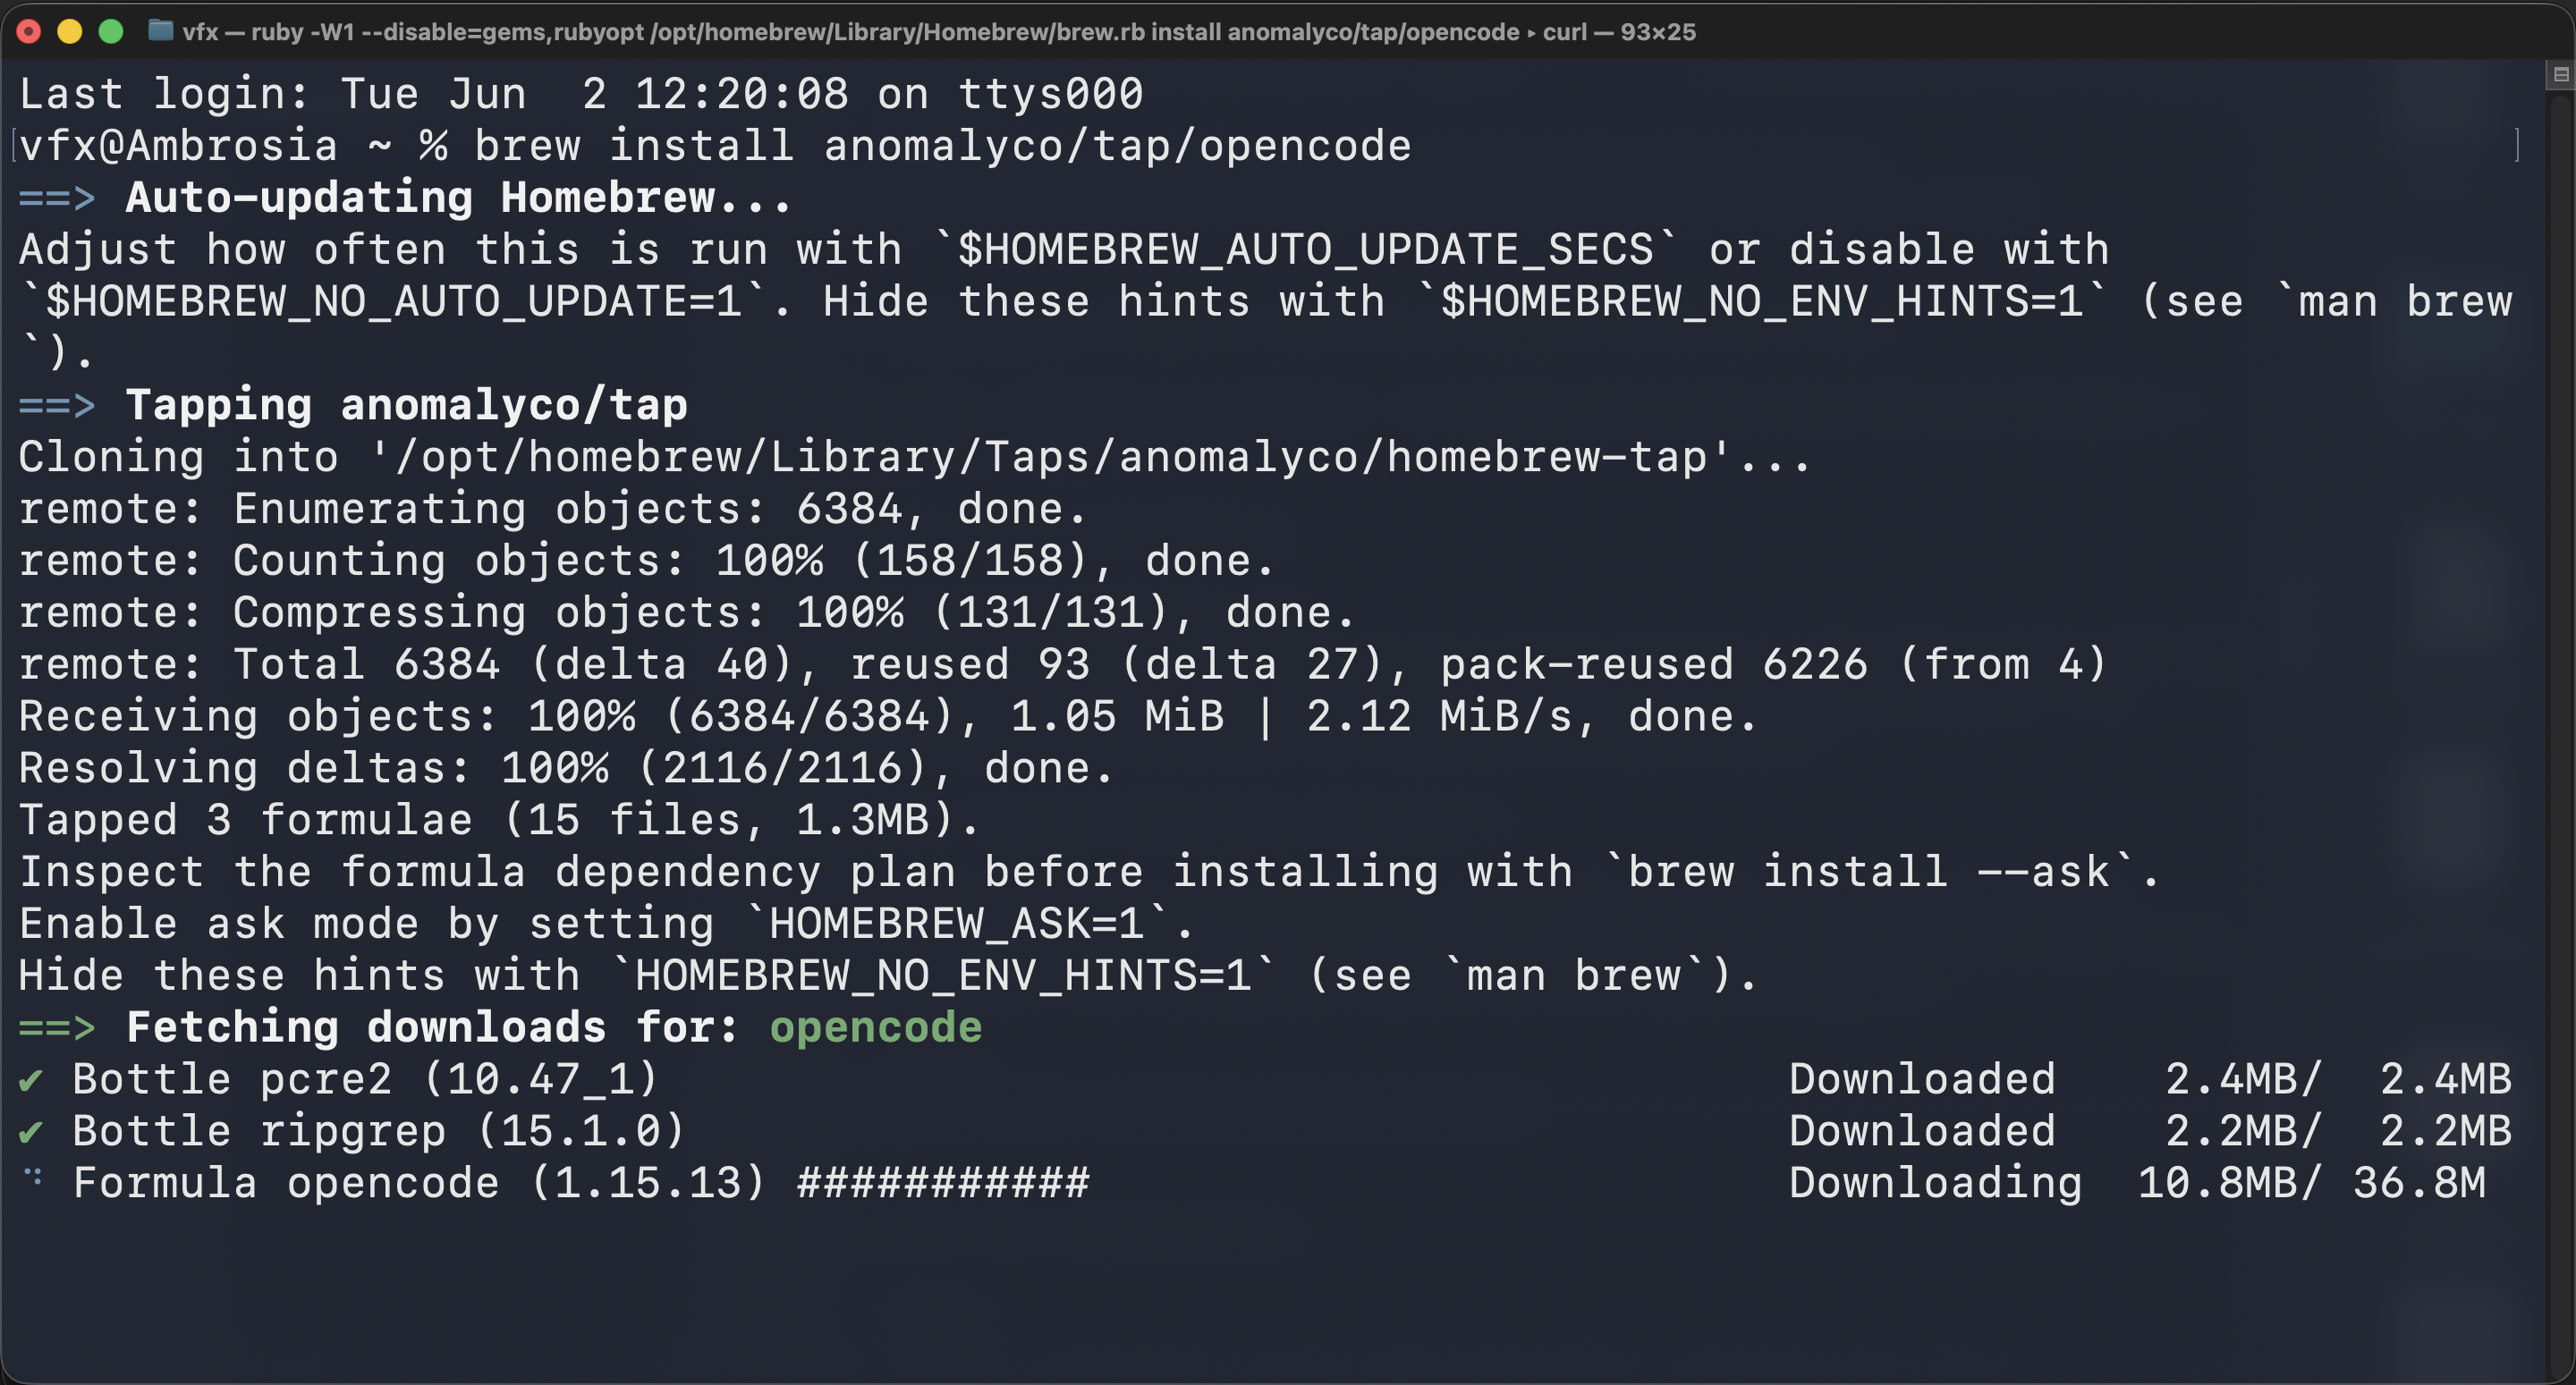
Verify the installation:
opencode --version
The terminal output will be something like:
1.15.13
Use OpenCode to edit the application's source code:
cd $HOME/Documents/Git/Path/To/Code/;opencode