Lightfielder | Scripts
14 Grade Automation
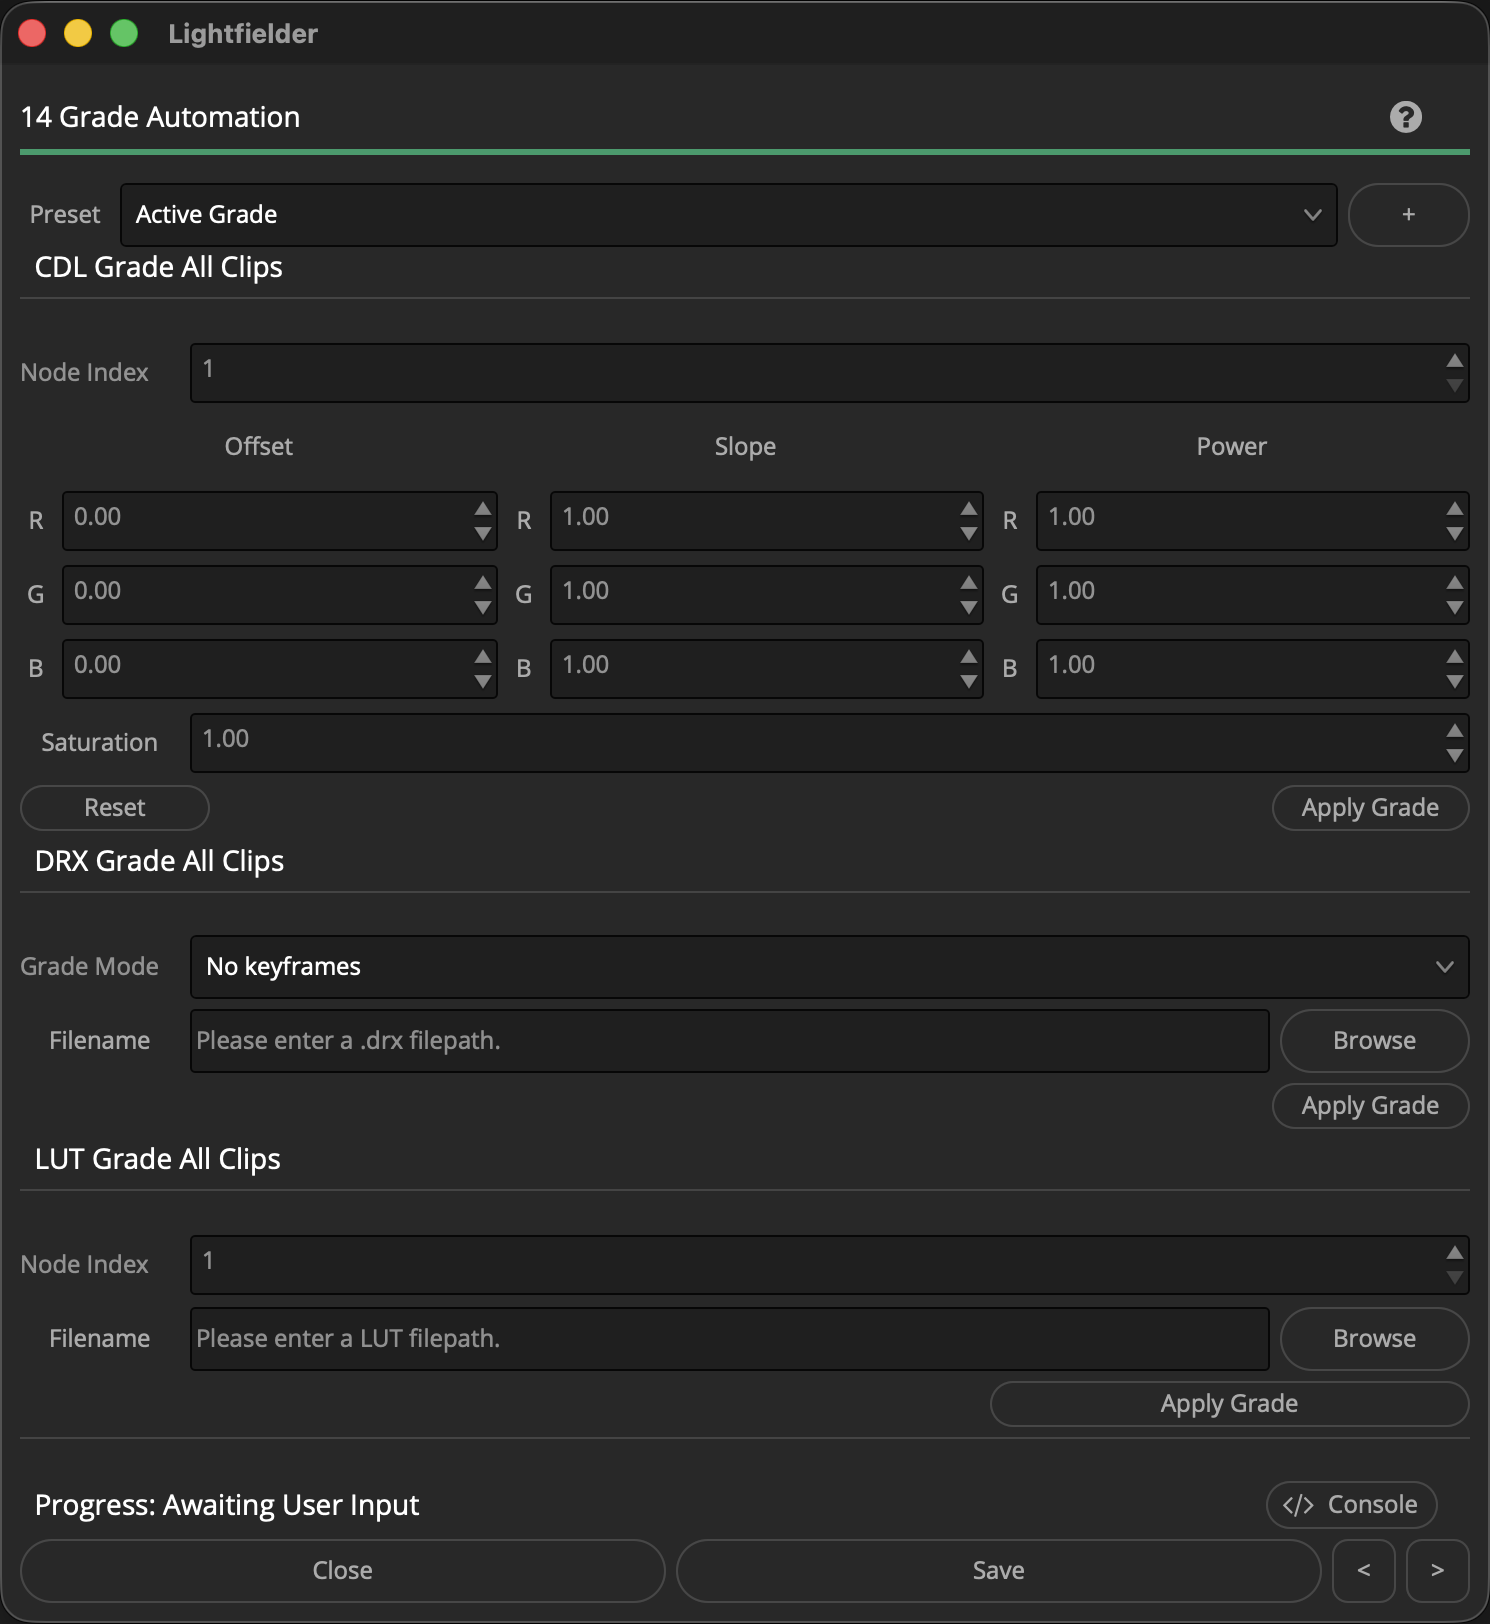
The Grade Automation view allows you to apply CDL/DRX/LUT grades to the multi-view clips in a timeline.
Tip: The help "?" button at the top right of the window can be used to quickly show this help topic.
Script Usage:
-
Open a Resolve Edit page based timeline. Select the menu item: "Workspace > Scripts > Lightfielder > 14 Grade Automation" • OR Select Tool Bar then click "14" button.
-
Apply a combination of CDL, DRX, and LUT grades to your footage. When applying a CDL Grade, clicking the Offset/Slope/Power labels will reset the values. Clicking on individual "R", "G", or "B" channel labels will reset those specific channel values.
-
If you want to apply view-dependent grading changes, the "CCS" Camera Contact Sheet script can be used to target the specific camera views that will have grading operations applied to the clips.
-
Press the individual "Apply Grade" buttons in the user interface to see the results of your changes.
Create a New Preset:
-
You can create a new grading preset by pressing the "+" button. This will snapshot the active settings from the window and save it as a new preset.
-
A "Save Preset" dialog will appear that allows you to name the preset.
-
The preset is saved as a .json format document into the folder location:
$HOME/Lightfielder/Resolve/Scripts/Utility/Lightfielder/Presets/Grade/
If you want to delete a preset, simply remove the .json file from the presets folder.
The presets are saved as JSON formatted plain-text documents that can be viewed with a programmer's text editor. Each grade preset is entered on its own line. Number values are entered directly, while values like file paths are wrapped in double quotes.